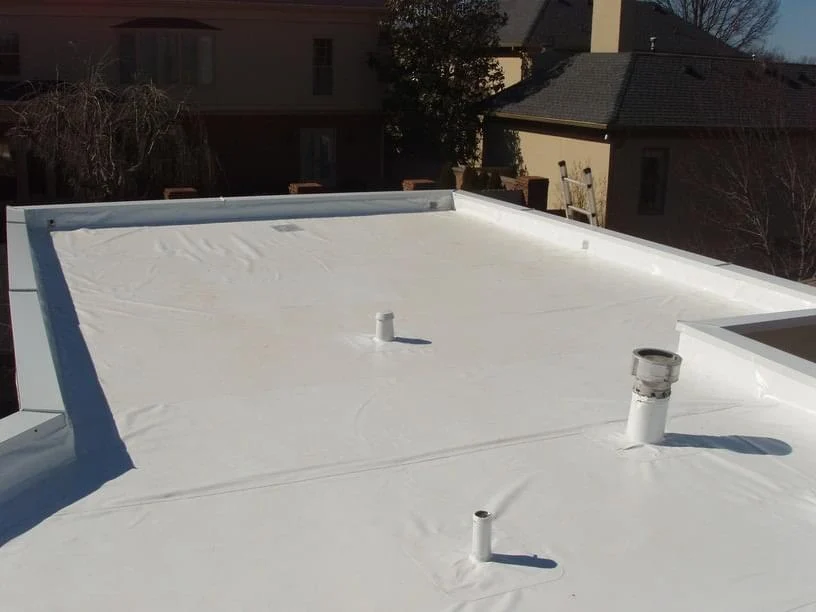
Flat roofs are a common feature of many commercial and residential buildings, offering a sleek and modern aesthetic. However, they are also susceptible to wear and tear over time, which can lead to leaks and other issues. Knowing how to effectively repair a flat roof is essential for maintaining its integrity and preventing further damage. In this step-by-step guide, we’ll walk you through the process of flat roof repair, ensuring that you can address issues promptly and effectively.
Step 1: Identify the Problem
The first step in repairing a flat roof is to identify the source of the problem. Look for signs of damage such as water stains on the ceiling, damp spots on the roof surface, or peeling paint. Common issues that may require repair include punctures, cracks, blistering, and failed flashing.
Step 2: Clean the Roof Surface
Before beginning any repairs, it’s important to clean the roof surface to ensure proper adhesion of repair materials. Use a broom or leaf blower to remove debris, dirt, and loose particles from the roof. For stubborn stains or algae growth, you may need to use a pressure washer or cleaning solution.
Step 3: Repair Punctures and Tears
If there are punctures or tears in the roof membrane, they should be repaired promptly to prevent water infiltration. Clean the area around the damaged area and apply a patching material such as roof cement or a specialized patching compound. Ensure that the patch extends beyond the damaged area and is firmly pressed into place.
Step 4: Seal Cracks and Blisters Cracks and blisters in the roof membrane can compromise its waterproofing integrity and lead to leaks. Use a roofing sealant or mastic to fill in cracks and seal blisters, ensuring a watertight seal. Apply the sealant generously and smooth it out with a putty knife or trowel.
Step 5: Replace Damaged Flashing Flashing is used to seal joints, edges, and transitions on flat roofs, such as around vents, chimneys, skylights, and HVAC units. If the flashing is damaged or deteriorated, it should be replaced to prevent water infiltration. Remove the old flashing and install new flashing using roofing nails or screws, ensuring a tight seal around the edges.
Step 6: Apply a Protective Coating
Once the repairs are complete, consider applying a protective coating to the roof surface to enhance its durability and weather resistance. Choose a coating that is compatible with your roofing material and follow the manufacturer’s instructions for application. A protective coating can help extend the lifespan of your flat roof and reduce the need for future repairs.
Step 7: Perform Regular Maintenance
Prevention is key to avoiding costly repairs in the future. Make it a habit to perform regular maintenance on your flat roof, including inspections, cleaning, and minor repairs as needed. Addressing issues promptly can help prevent them from escalating into larger problems that require extensive repairs.
By following this step-by-step guide, you can effectively repair your flat roof and ensure its longevity and durability for years to come. If you’re unsure about how to proceed or if the damage is extensive, don’t hesitate to contact a professional roofing contractor for assistance. With proper care and maintenance, your flat roof can continue to protect your property and withstand the elements for many years.


